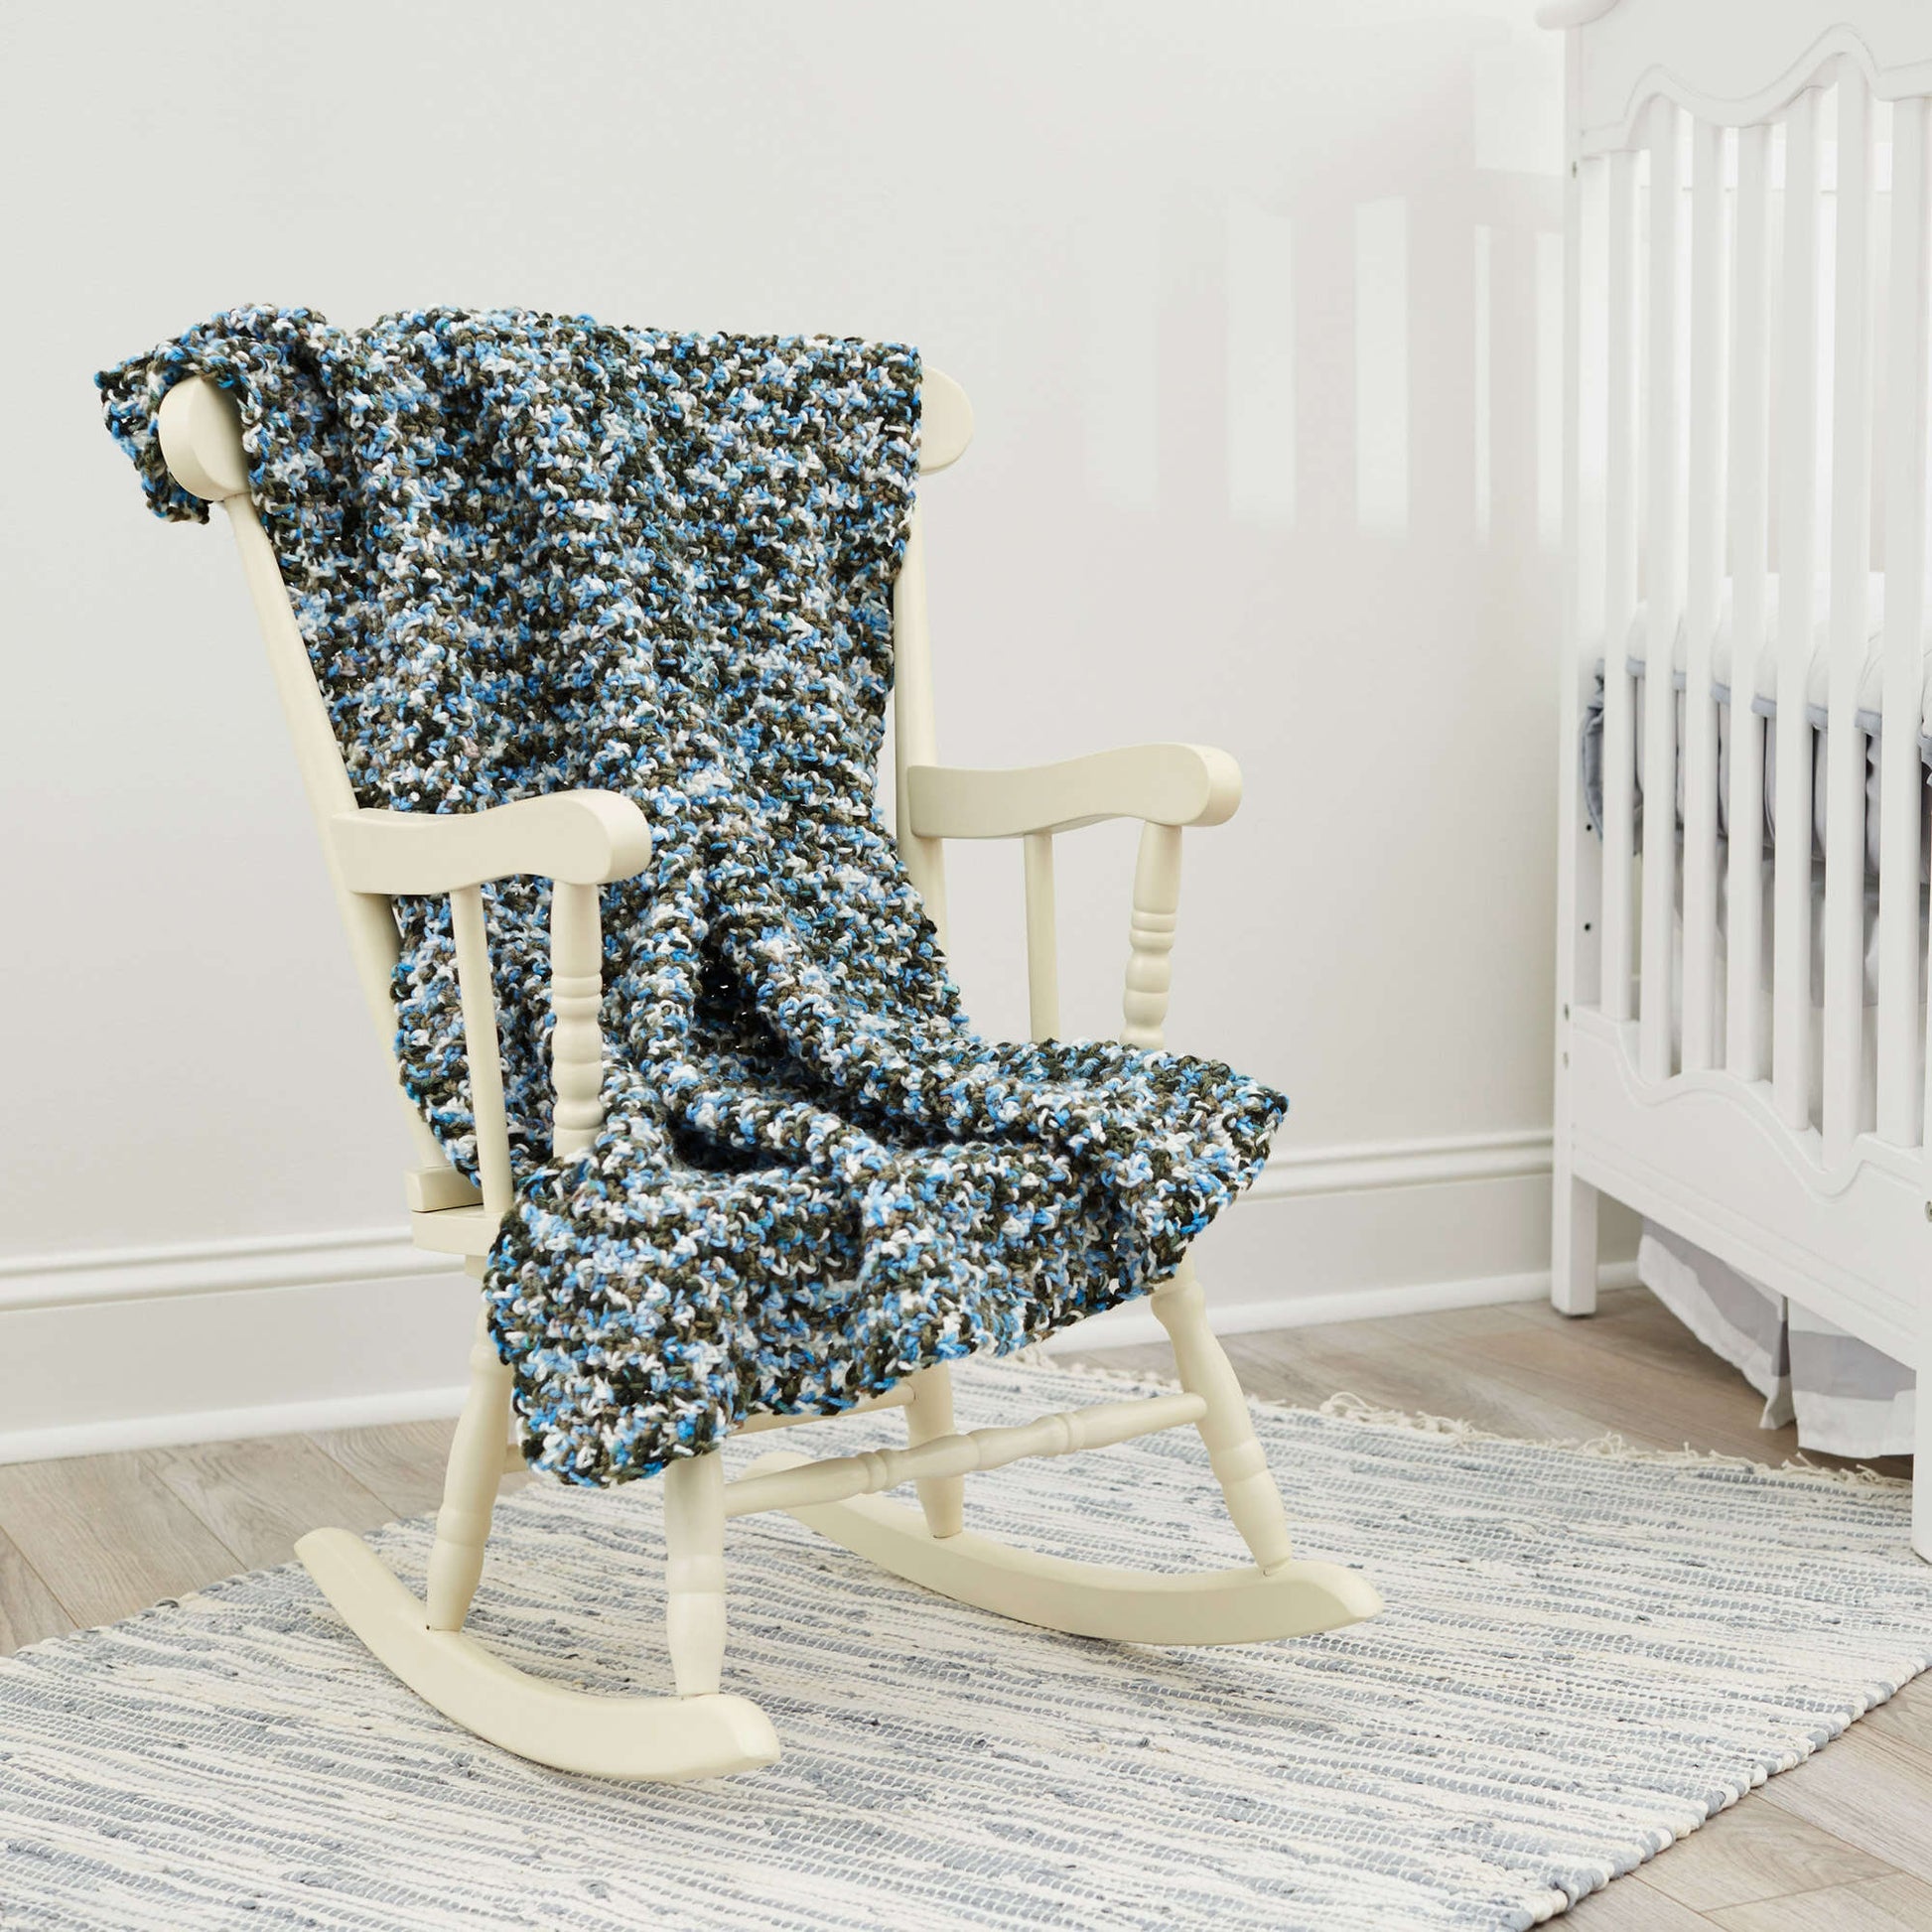
When I first started crocheting, I was looking for patterns that not only challenged me creatively but also brought a sense of calm to my busy life. The Pastel Shells Baby Blanket was one of those projects that instantly spoke to me. Its soft waves, created by the shell stitch, and its soothing color palette offer both a peaceful crafting experience and a beautiful result—perfect for welcoming a new baby into the world.
The joy of crochet, for me, lies in the meditative rhythm of the stitches and the thought that each stitch contributes to something special. This blanket embodies that perfectly.
The Timeless Elegance of the Shell Stitch
The beauty of the Pastel Shells Baby Blanket comes from the graceful repetition of the shell stitch. This classic stitch creates delicate fan shapes, giving the blanket its signature texture.
What I love about the shell stitch is how it creates movement within the fabric, making it both interesting to work and visually pleasing. Although it looks intricate, it’s much simpler than it seems, making it an excellent choice for beginners or anyone looking for a project that’s relaxing but still yields an impressive result.
Why Pastel Colors?
The pastel color palette adds to the blanket’s soothing nature, making it ideal for a baby gift. Soft hues of pinks, blues, greens, or yellows blend perfectly with the shell pattern, making the blanket as gentle on the eyes as it is on the skin.
However, don’t let this limit your creativity! You could easily use other color schemes, like bold primaries for a modern look or even earthy tones for a more rustic vibe. The versatility of this pattern is part of its charm.
Materials You Will Need
To complete the Pastel Shells Baby Blanket, gather the following:
- Yarn: Approximately 3-4 skeins of DK/light worsted yarn in soft pastel shades. I recommend using a baby-soft yarn for extra comfort.
- Crochet Hook: 4.5mm hook to ensure tight, neat stitches.
- Accessories: Scissors and a yarn needle for weaving in ends.
Setting the Stage: Preparing for Your Project
Before diving into the pattern, it’s important to get comfortable with the shell stitch if you haven’t used it before. Practicing a few rows on a small swatch will give you the muscle memory you need to flow through the blanket without frustration.
Pay attention to your tension—consistent tension will result in a smooth, even blanket with beautifully defined shells. Remember that patience is key! If you’re unsure about your stitch count or placement, don’t hesitate to frog (unravel) a few stitches and start again. A little extra care in the beginning saves time in the long run.
Step-by-Step Instructions
Once you’ve practiced and gathered your materials, you’re ready to begin. The shell stitch pattern involves a series of increases and decreases that form the fan shape, giving the fabric a soft, wavy texture.

Full Pattern: Click Here
Additional Tips
- Keep a tape measure handy to ensure your blanket is reaching your desired dimensions.
- For a softer finish, wash and block the blanket once completed. This will help the yarn relax and the stitches settle into place.
- If you find your edges uneven, make sure you’re not skipping the turning chains. This step is key to keeping a straight, even edge.
Personalizing Your Blanket
While the pastel color palette is a classic choice, don’t be afraid to get creative! Try mixing different yarn textures, adding a border in contrasting colors, or even incorporating multiple shell stitches for a more intricate look. Your blanket should reflect your style and the personality of the recipient.
Wrapping Up Your Project
Completing the Pastel Shells Baby Blanket is a gratifying experience. Not only do you get the joy of creating something from scratch, but you also end up with a heartfelt gift that will be cherished for years. As you fold the final stitch, take a moment to appreciate the time, care, and creativity you’ve poured into this project—it’s a labor of love that will bring warmth and comfort to its future owner.


